
How to Install KiCad 8.0
In this guide I explain what KiCad is and how you can install the latest version of KiCad 8.0

Manuel Quero
What is KiCad and why use it?
KiCad is an open source electronic design automation (EDA) tool that is used to create schematics and PCB (printed circuit board) layouts.
It is one of the most popular choices among the electronics and makers community because of its completeness and all the features it offers for free.
It is ideal for designing circuits from scratch, as it allows users to go from initial idea to manufacturing and production.
One of the main advantages of KiCad is that it is open source, and anyone can modify and improve KiCad or add functionality through plugins. These plugins can help you automate tasks, add new design tools and improve the overall user experience.
In fact, it has nothing to envy to other similar paid programs such as Altium Designer or Cadence.
How to download the latest version of KiCad 8.0?
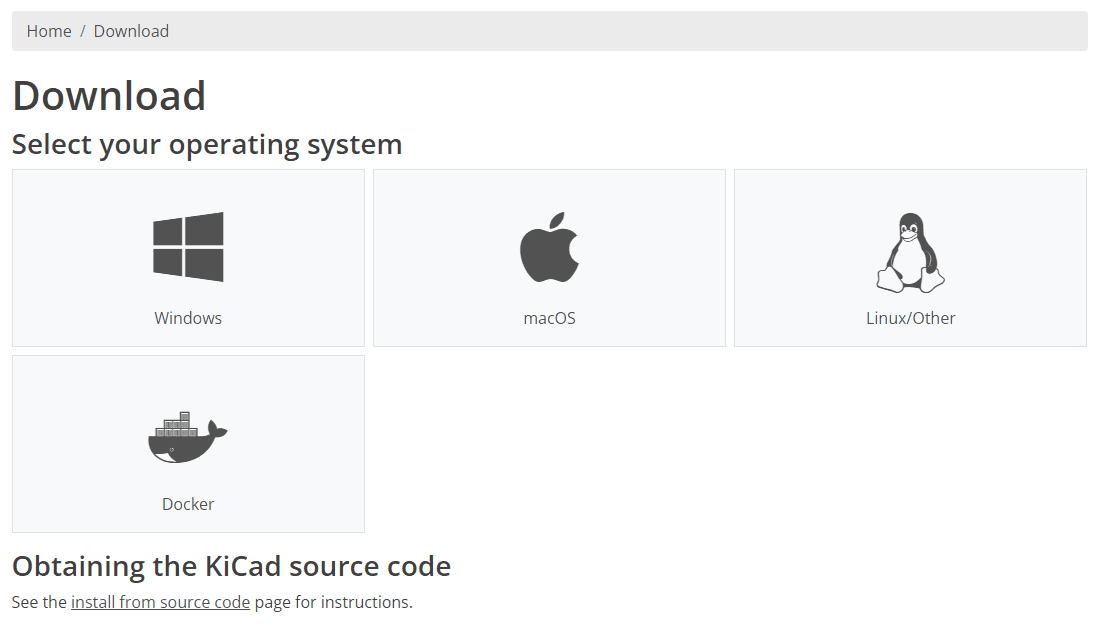
To install KiCad, visit the KiCad official site and select the operating system you are using. In this tutorial I will explain how to install it for Windows, although the installation is identical for Linux and macOS.
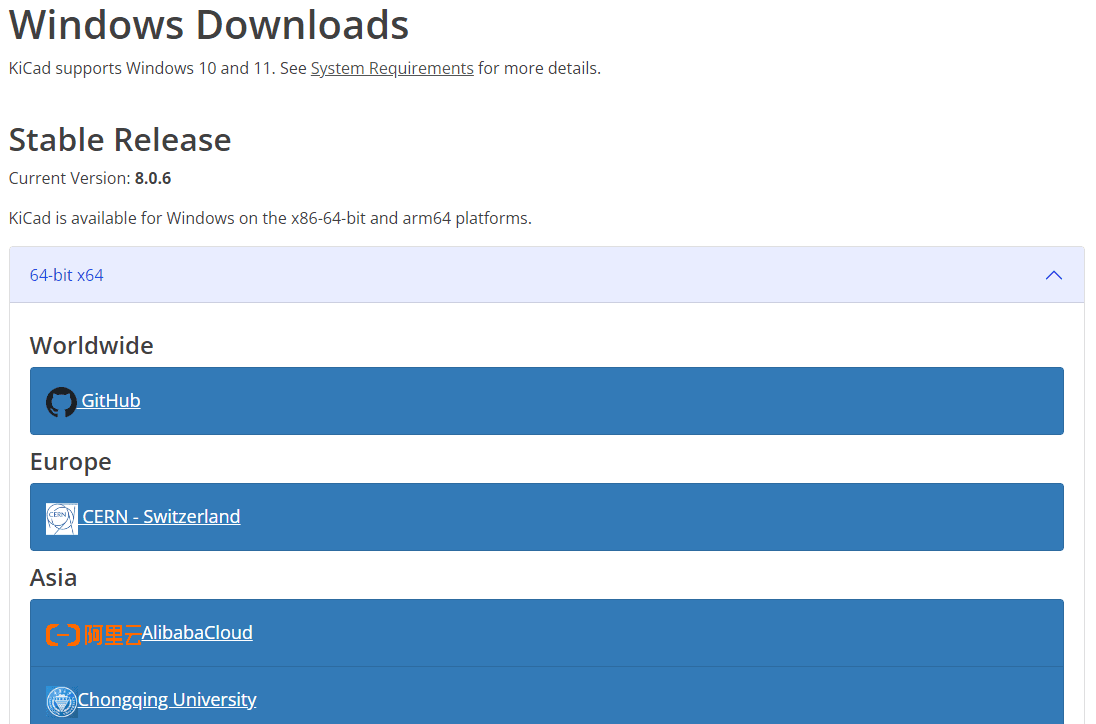
On the next page, you can select from which server to download the installer. I recommend you to download it with GitHub because it is the most reliable and works for everyone.
Installing KiCad 8.0 step by step
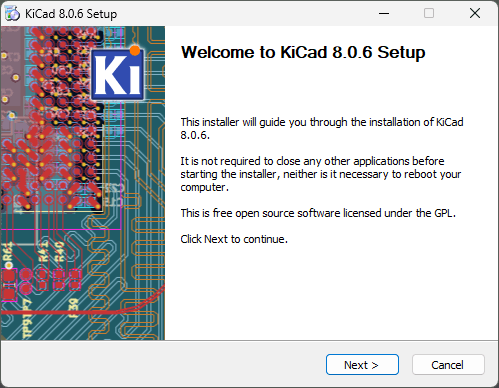
1. First open the installer that you just downloaded and click Next
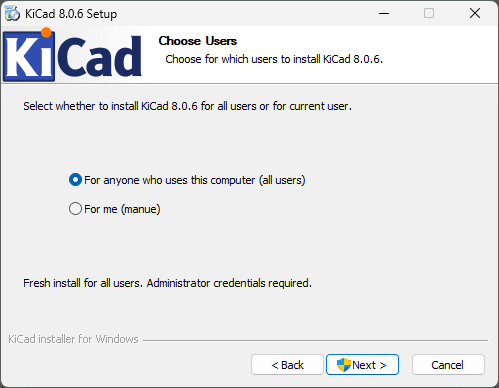
2. Select if you want to install KiCad only for your user or for all users. I recommend that if it is for your personal computer you install it for all users. Click Next and when it asks for administrator permissions grant them.
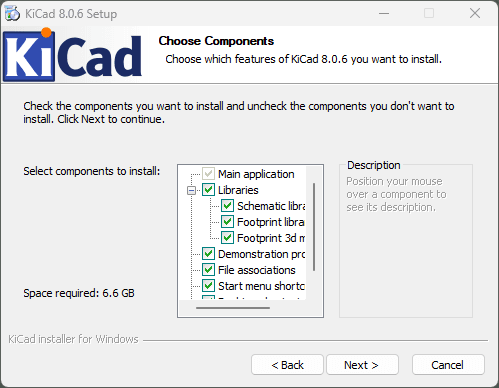
3. In this menu you can select if you want to install the component libraries that KiCad comes with by default. I recommend you to install them if you are starting to use KiCad or to learn about electronic design, since you will have already created components.
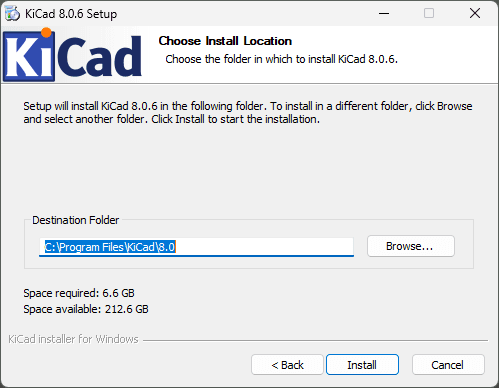
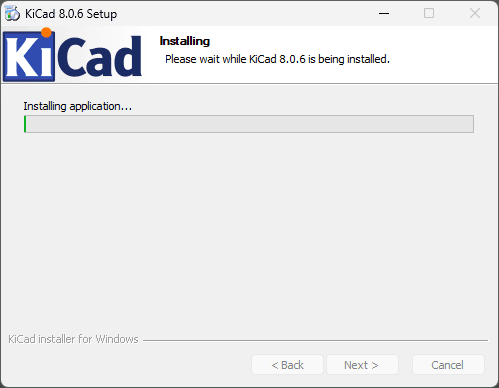
4. In the following menu you can select in which folder KiCad is installed. In general, you don't have to change the default path. Click Install and KiCad will start installing.
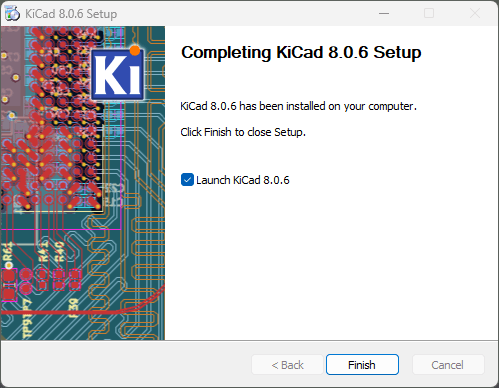
5. Once installed you can open KiCad and start designing!
Tips for the first time you open KiCad
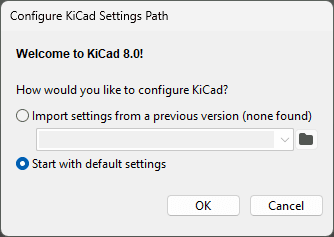
As soon as you open KiCad you will get this pop up. If this is the first time you install KiCad I recommend you to select “Start with default settings”. The other option is to import the settings from a previous version of the program that you have installed on your computer.
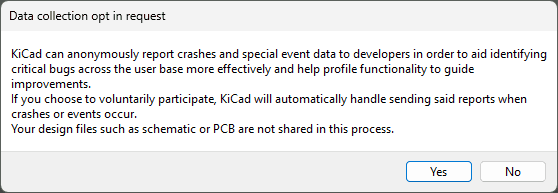
Then you will have to choose if you want to send usage data to improve the program and report program crashes automatically. I recommend that you choose Yes so that they can continue to improve the program.
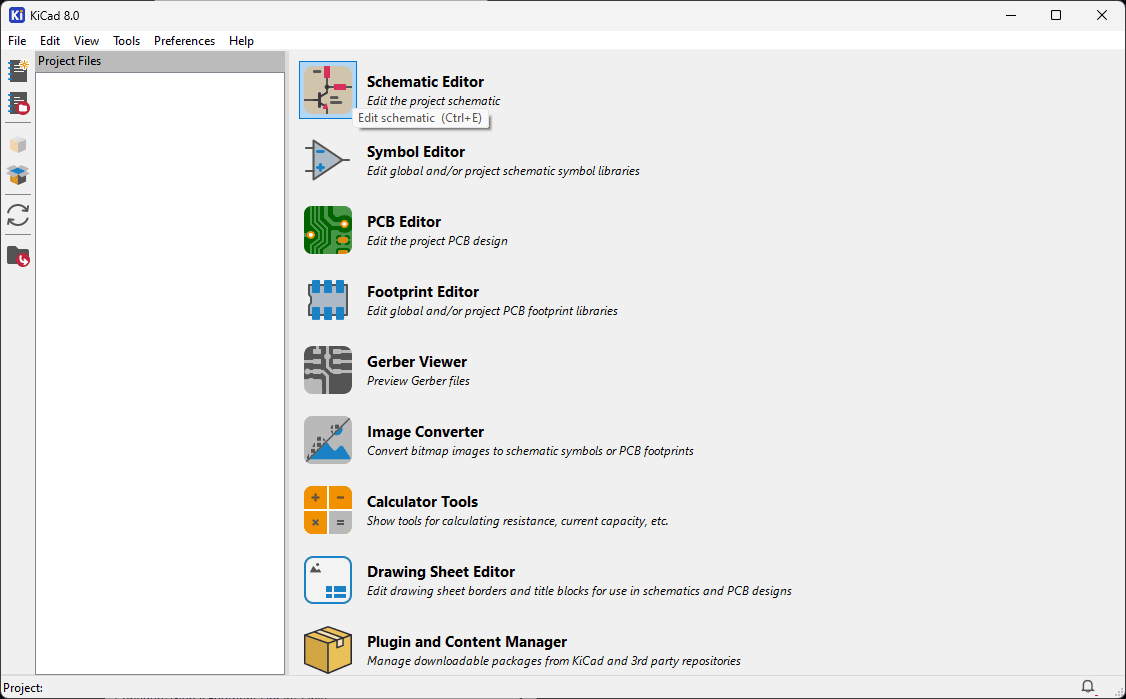
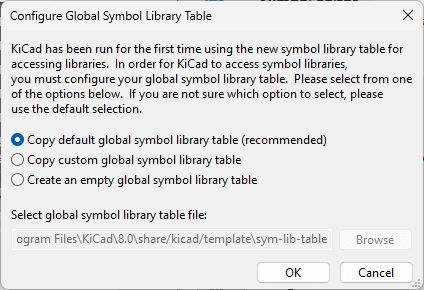
The first time you open the Schematic Editor or the Symbol Editor you will get this pop up to configure the Libraries. I recommend that you choose the first option to have the default KiCad symbols available.
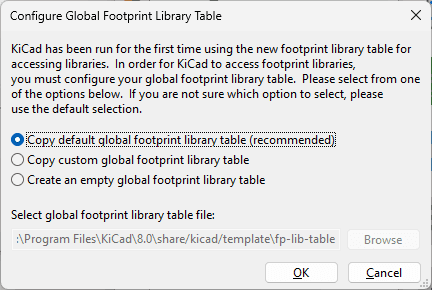
Likewise, the first time you open the PCB Editor or the Footprint Editor you can choose whether you want to have the default KiCad footprints.
Conclusions
By following this guide you are all set to create your designs using KiCad 8.0 🚀
If this is your first time using KiCad you will see how intuitive and easy to use it is.